

The FabLab Space Agency
The FabLab Space Agency
This post is about how I created this model off in 3DS Max and how I went about 3d printing it in the most time-saving and material saving way and what this spaceman 3d print is all about “The FabLab Space Agency”…

The FabLab Space Agency
I’m going to tell you how I made this model in 3DS Max and how I went about 3d printing it in the most time-saving and material saving way and what this spaceman 3d print is all about…
Why Did I Make This “FabLab Space Academy” Spaceman, Logo And Stand?
FabLabs are all over the world.f you Google “The FabLab Space Agency”, the chances are that you will find little out there.
In fact, it was an idea from FabLab Ísafjörður in Iceland.
I was nearing the end of my project residency at FabLab Isafjodur,
I suggested that I make a large 3D print of the spaceman that I sell in minature in metal on my online shop.
Þórarinn Bjartur Breiðfjörð Gunnarsson the manager, suggested we make a FabLab Space agency figure on a stand with a logo.
Why?
Well, FabLabs, Makerspaces and the maker movement in general, is a great leveller. It links maker communities globally, it is impartial of race, religion, demographics. Everyone makes, learns and shares!
We both agreed that this would be a nice symbolic gesture.
Perhaps one day, the FabLab will go into space, imagine a FabLab on a Mars Base for example where maker tools such as 3D printing could greatly help with self-sufficiency so far from planet Earth.
How I Made It…
So in the spirit of the maker movement and like previous projects. I like to share with you the process of how I make my artwork…
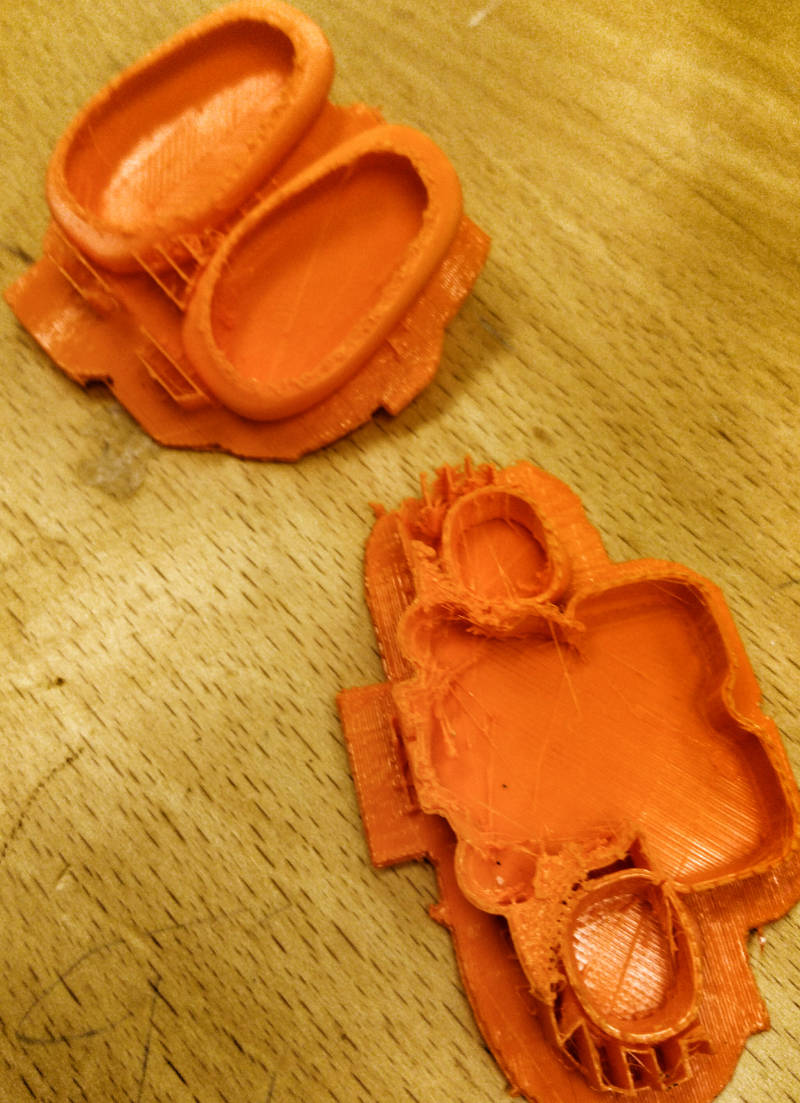
Firstly, I went back to the original 3D graphics file of the spaceman that I had made previously. I used the select and place tool in 3DSMax to place a premade 3D FabLab logo that I also made previously. I also split the model in two around the chest area and hollowed the inside out. This would allow me to pour sand into the model to give it more weight and also it would mean that I could speed up the 3D print process without an internal structure!

select and place 3dsMax
I then exported it as a .STL file and opened it in the 3D print setup application Cura for Ultimaker 3D printers. I went to the layer settings to make sure that the print looked ok and any supports would print out and work properly.
More importantly, I took the fill density to 0%. This meant that the figure would be hollow and it would print a bit faster.

3d setup in Cura
Sometimes, 3D prints fail. In this case, the spool at the back got caught. When this happened, the PLA print material stopped coming out of the nozzle. So Abort and start again!
failed 3d print
I made sure this did not happen again by monitoring the 3D print every thirty minutes and checking the spool at the back.

3d print in progress
When the parts had finished printing. I took them out and started to sand them with sandpaper to take off rough parts and smooth the overall surface.

top half spaceman
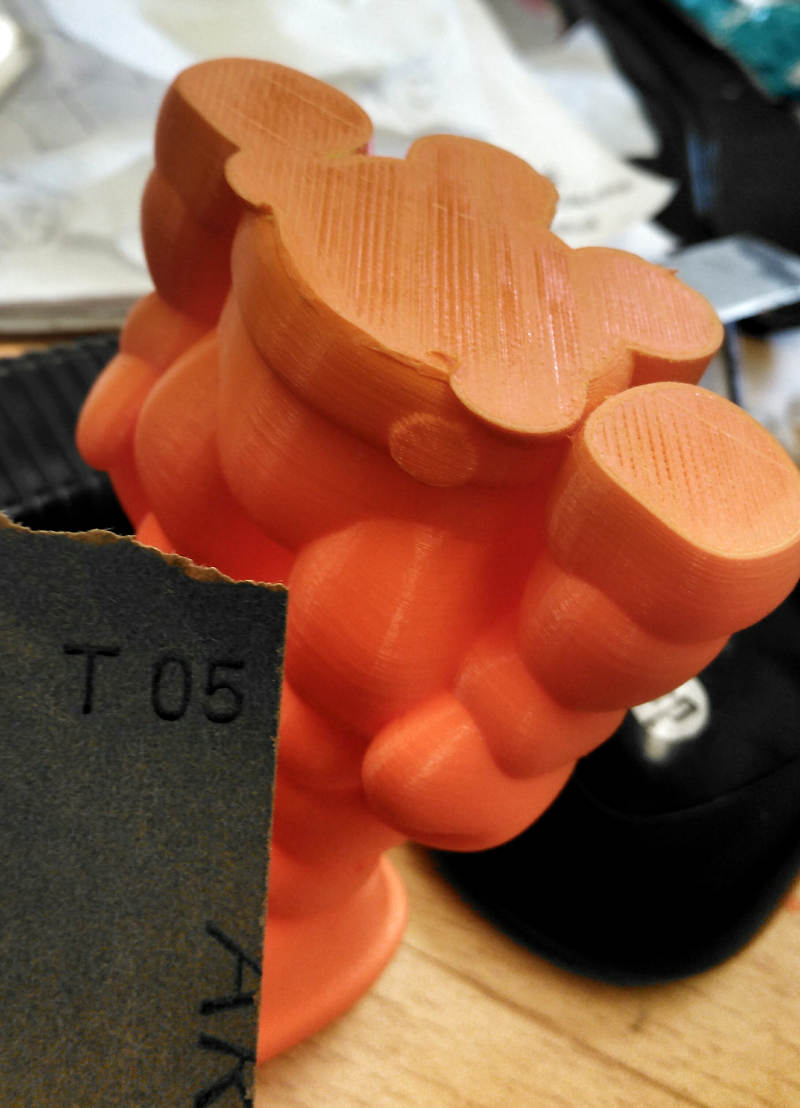
sandpaper on 3d print
I then used a disposable scalpel to cut through into each half of the spaceman as below. This would allow me to fill it with sand.

hollow 3d print
In this case, lovely black volcanic Icelandic sand! I used a simple piece of folded paper to act as a funnel to pour the sand in
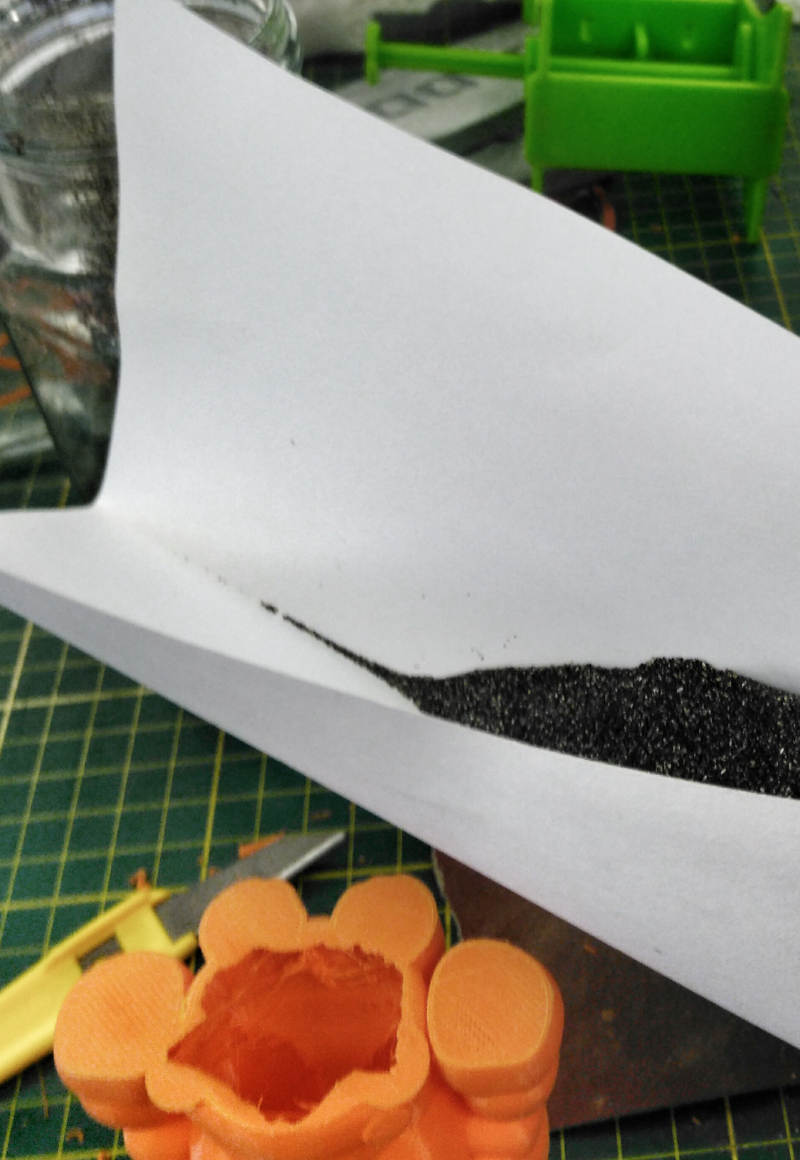
pour sand 3d
The two halved with sand in. It was actually difficult to glue the two together with sand in. I managed though with superglue…

sand fill 3d print
After glueing the two parts of the Spacement together. I went on to bend a rectangle of plastic with a heat torch and a really nice hot wire embedded into a wooden block at FabLab Ísafjörður…

heat treat perspex bend
With some careful bending, a pretty nice stand can be made…

bent perspex
The final part was the 3D print of the FabLab Space Agency logo I made in 3DS Max. After 3d printing it, I carefully cut away the supports…

fablab space agency logo
I made sure that the words would be held together with a neat little bar at the back also made in 3DS Max…

3d print words connected
So there you go, here is the final FabLab Space Agency Spaceman…
Now Watch The Video…
I hope that this inspires you to create your own 3d print art work. You can even try to make your own FabLab Spaceman or any other Spaceman you want to make and 3D print!
Ways to Say Thanks! 🙂
Donate with bitcoin…

Buy my art here on my online shop .
I look forward to talking with you again soon and keep making and creating and I always love to hear how this has helped you and what you have created!
