
6 – EchoFab Fablab Artist In Residence Day Six…Lines And Connections!…
Day six, back in the lab after a weekend of rest. Well actually I developed some ideas about the artwork I want to make, the devil makes work for idle hands! I am always coming up with ideas even when I try to rest.
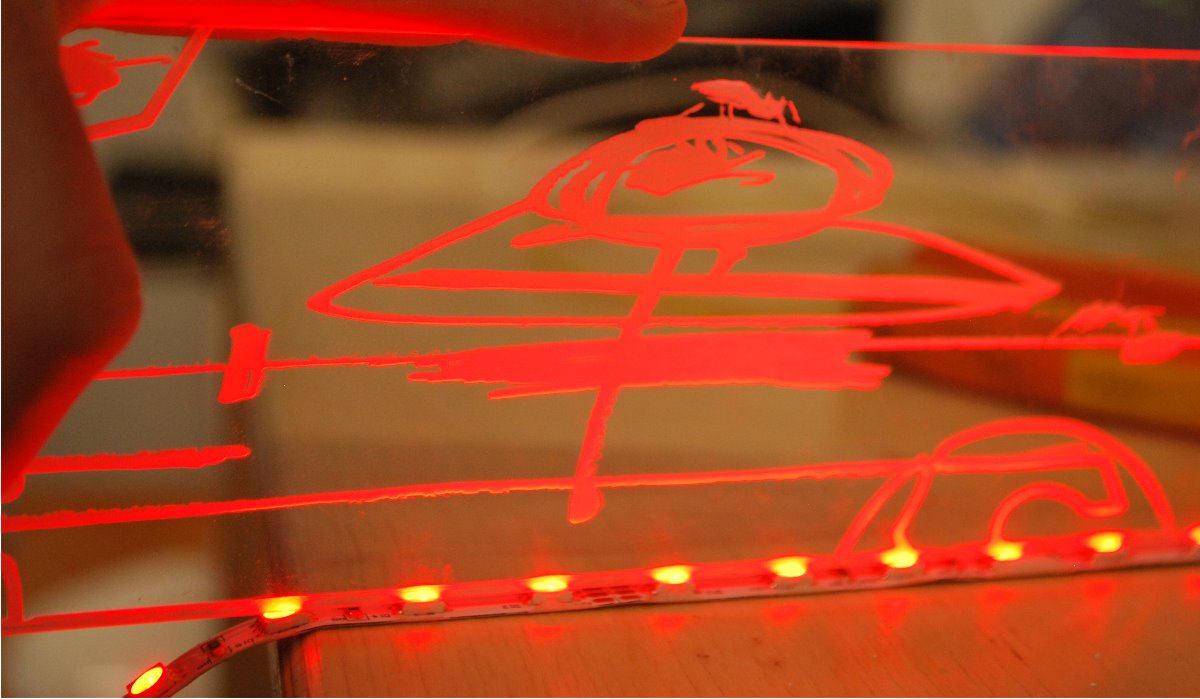
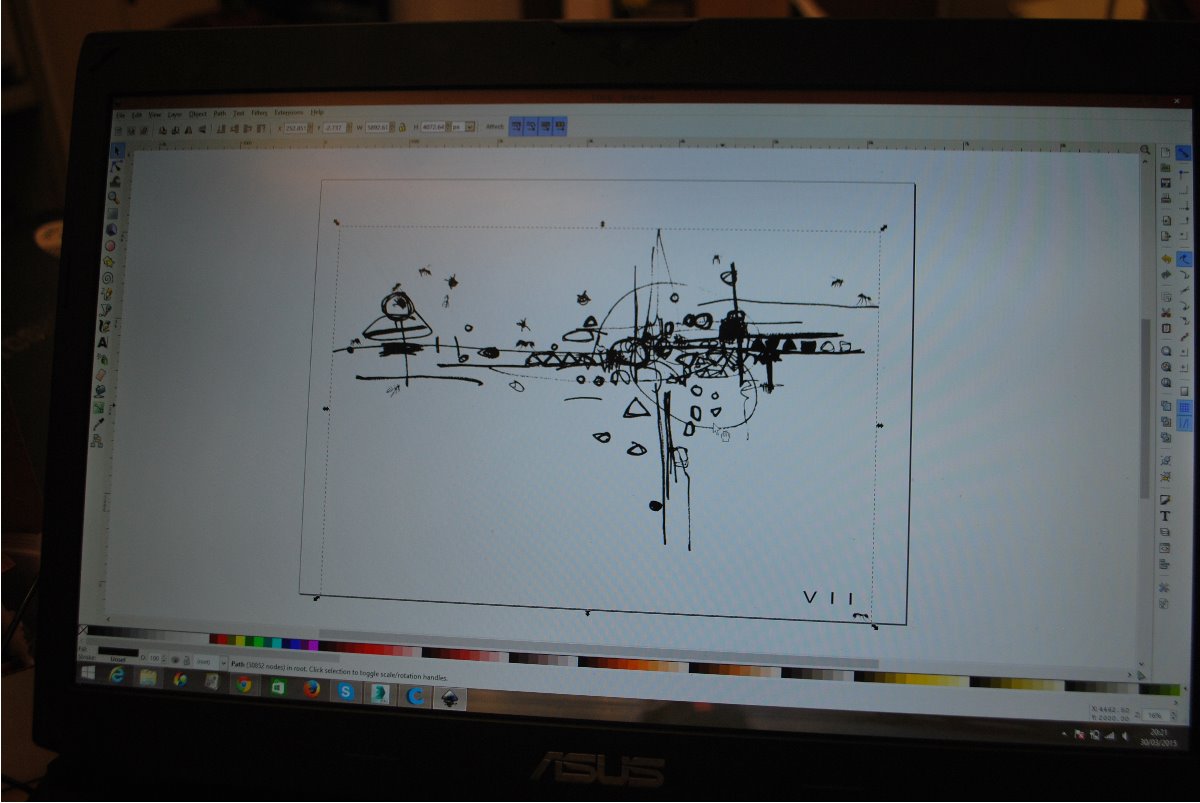
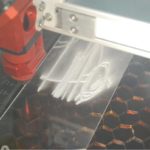
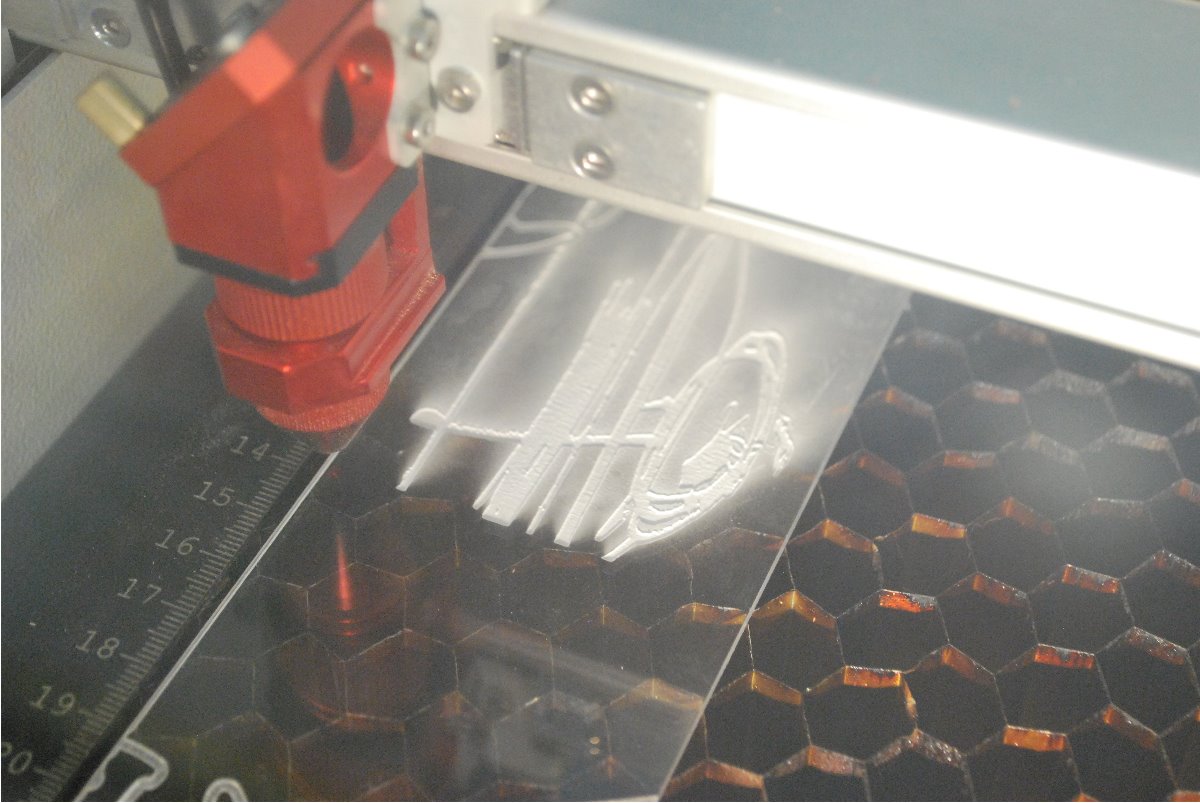
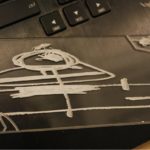
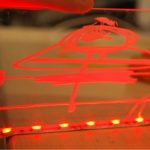
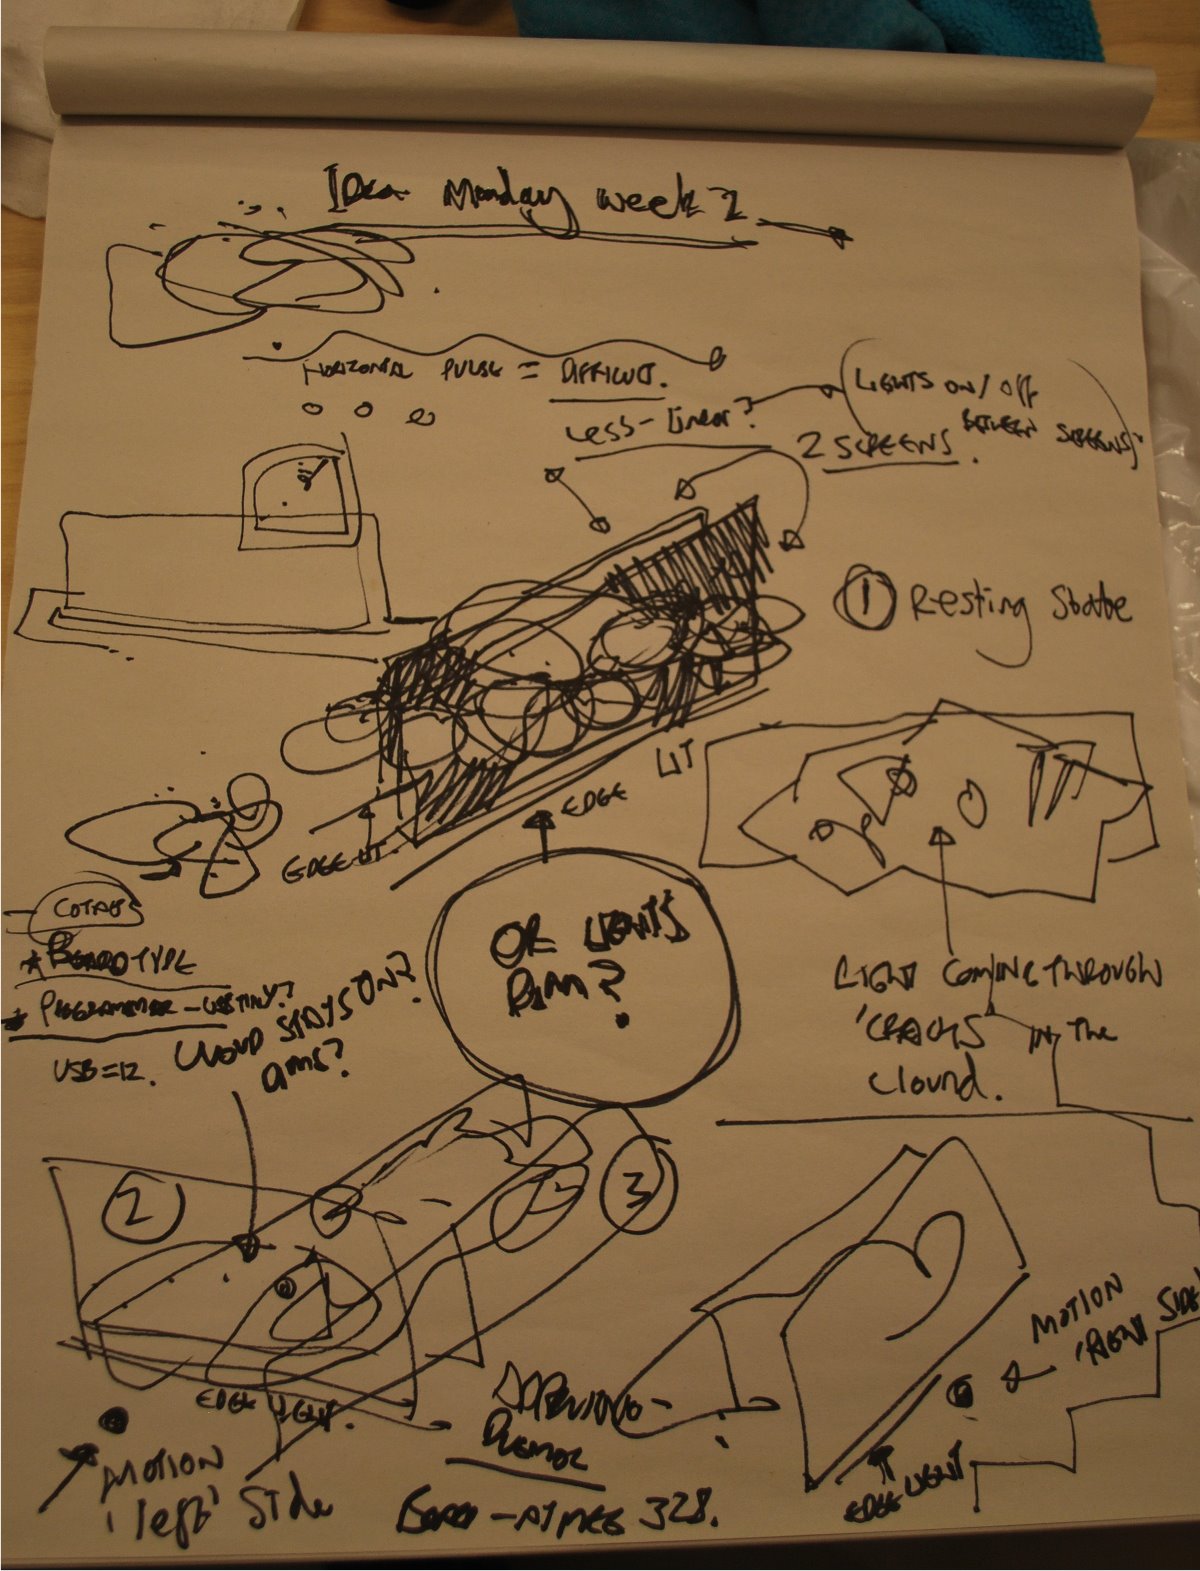
Today I wanted to test a few things before I start to develop the form of the artpiece on day 7. Firstly, I used a section of my artwork ‘War Of The Ants And Bees’ to etch onto perspex using the laser cutter. I then tested ‘edge lighting’ where a strip light, illuminates the edge of the perspex. This catches where the laser cutter has etched, see photo. It is very important for me to use my fluid drawing lines in the final piece as these will represent the moving aspects of city environments. Drawing is also a big part of myself and for my sculpture work I do not want to neglect it in favour of purely geometric structures.
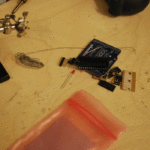
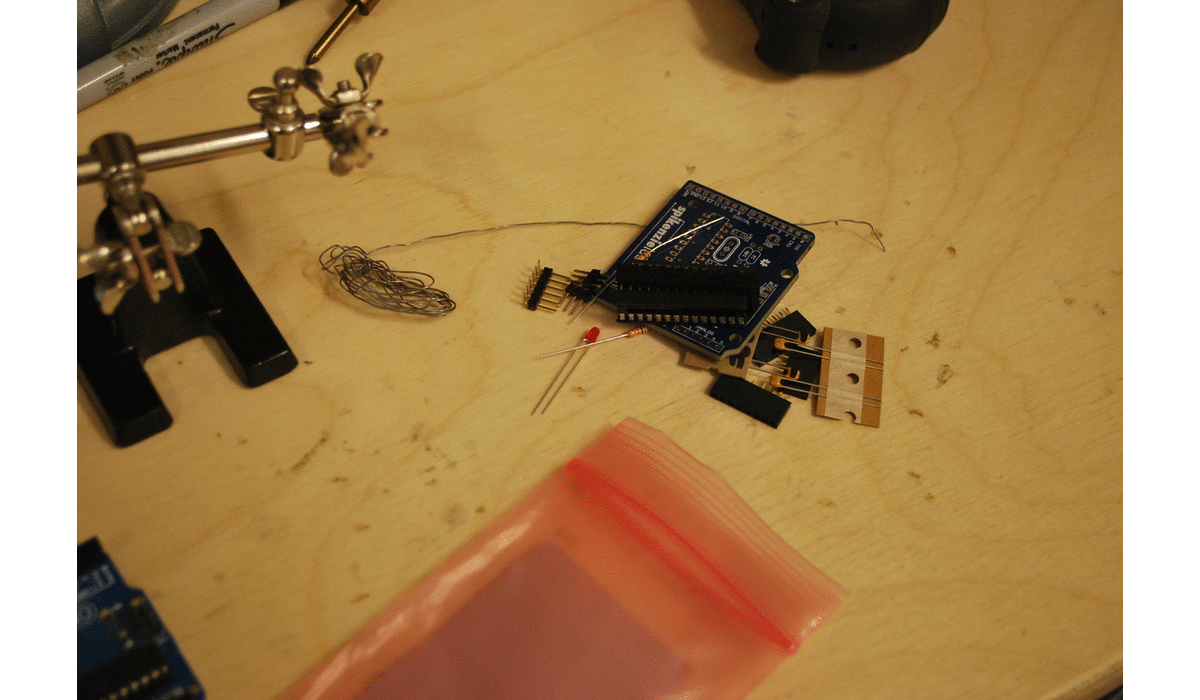
After making this successful test, I managed to solder the ‘Miniduino’ by Spikenzielabs that I won at the Arduino day at SAT, Montreal over the weekend. This kit came non-soldered so that took a while! I would have initially preferred a ready made kit. Retrospectively by soldering it, I learned a lot about its components.
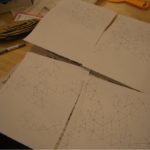
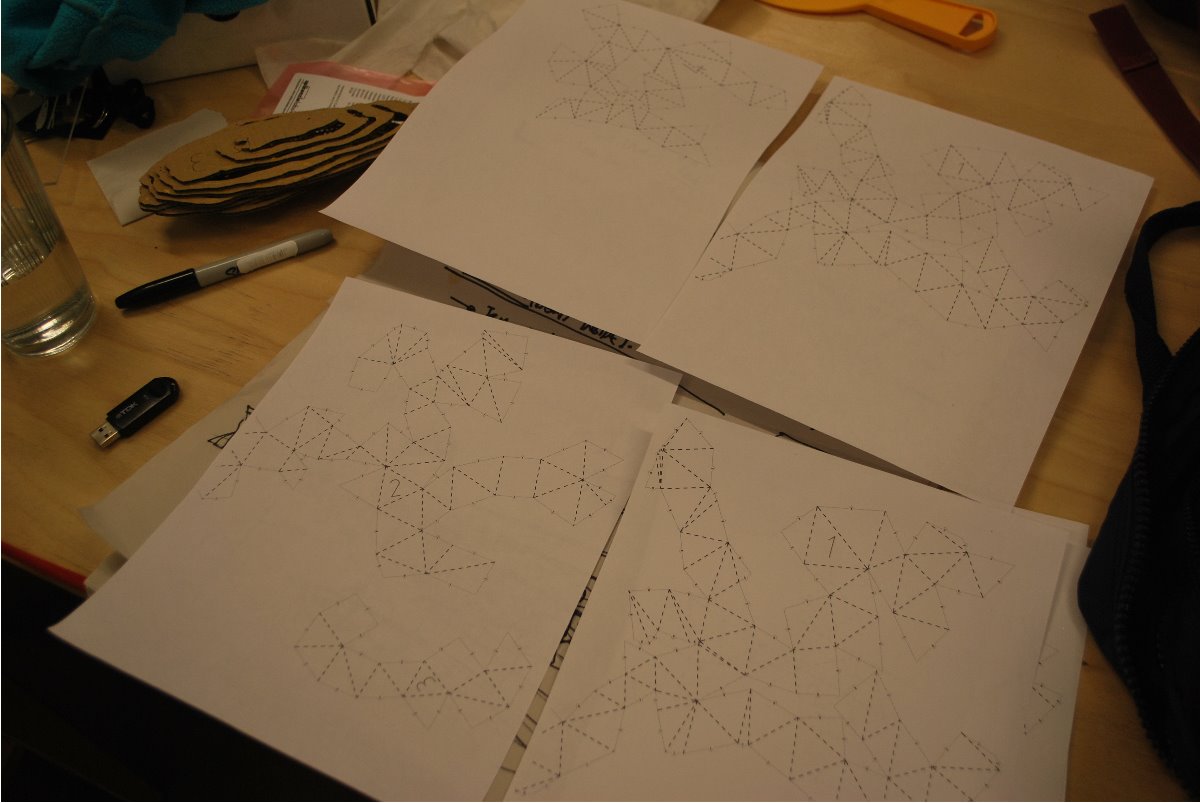
Finally, I made a net from 123dMake to print out tomorrow so I start experimenting with different cloud forms for the final piece. Finally, I changed some ideas for the final piece, you can see this in the last image. If you can’t read my writing, don’t worry, often I can’t either! You will see visual results tomorrow anyway…Check out the EchoFab blog for more information about today’s work.
-
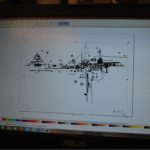
- Trace Bitmap Inkscape
-
- Laser Cutter Lines
-
- Laser Cut Test Result
-
- Edge Light Test Strip Lights
-
- Arduino Making Minuino
-
- Polygon Cloud Net
-
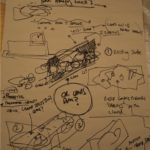
- End Of Day Idea Plan
To summarize the process today is as follows-
1. I tested the etching with the laser printer with strip edge lighting using one of my fluid line artworks. The results were successful in my view!
2. I soldered the Miniduino, Arduino clone together. Doing so, expanded my knowledge of how this great little thing functions!
3. I made a polygon net cloud print from a 3d mesh I made, the net was automatically made using 123d Make.
4. A brainstorming exercise at the end of the day gave me new ideas to evolve the final piece to a greater extent.
