

3 – EchoFab Fablab Artist In Residence Day Three…’Arduino-ing Around’
Today I wanted to check the feasibility of interactive elements of the final sculpture artwork I have in mind. The idea at this stage is to have some lit areas in the final piece, I want these areas to light up when a user moves there hand up to 40cm away from the sculpture and then the light to switch off about a second after they have moved their hand away from that area. I also want these lit areas to have some stencils in front of them to allow architectonic patterns to emerge. Ideally, I want sounds to activate during the interaction process too.
I want this to evoke a fluidity of movement contrasted with static monolithic elements. I am really keen to get this interactive element into the final piece, at this stage I see that this could be the hardest technical aspect of the piece.
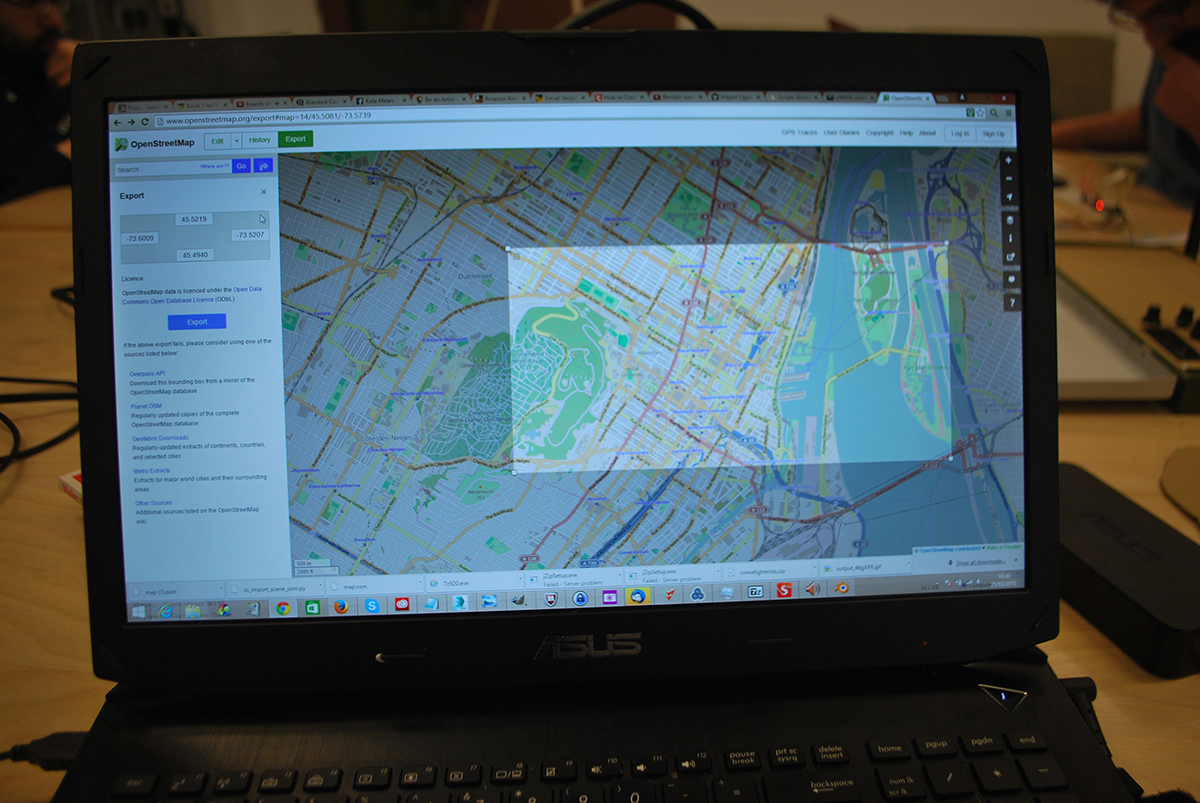
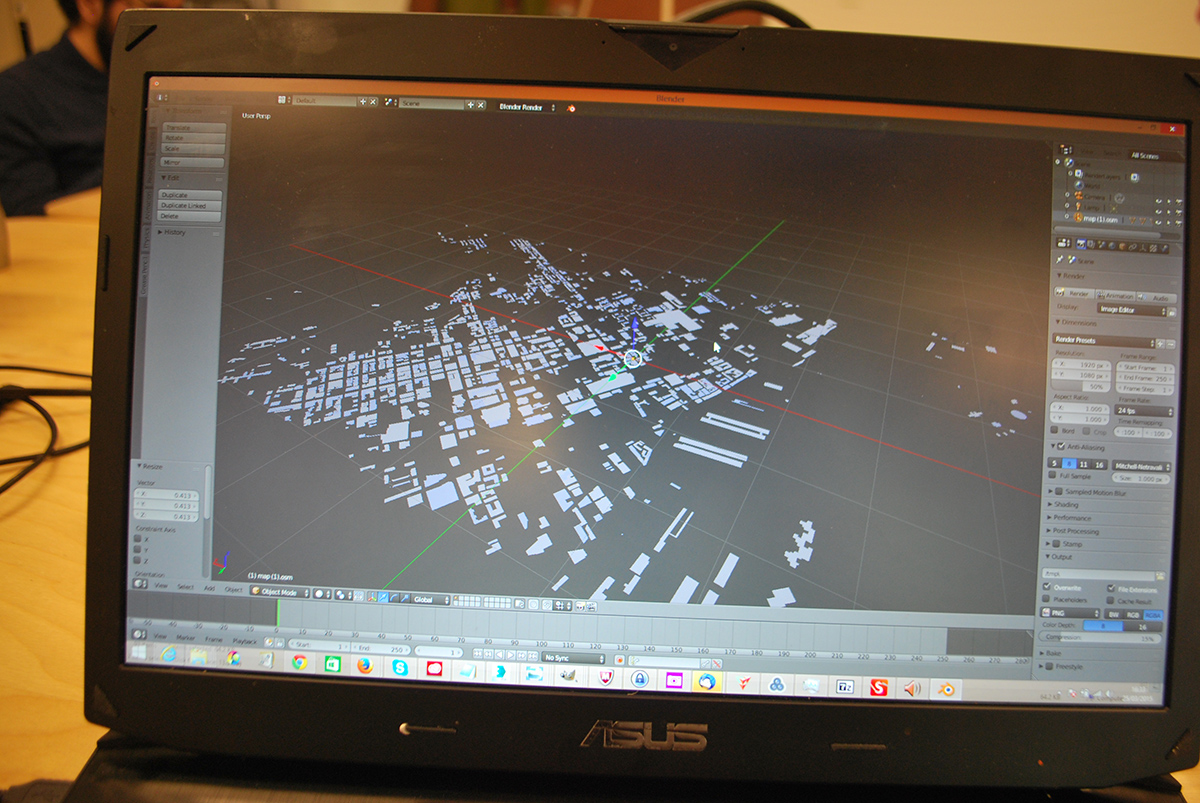
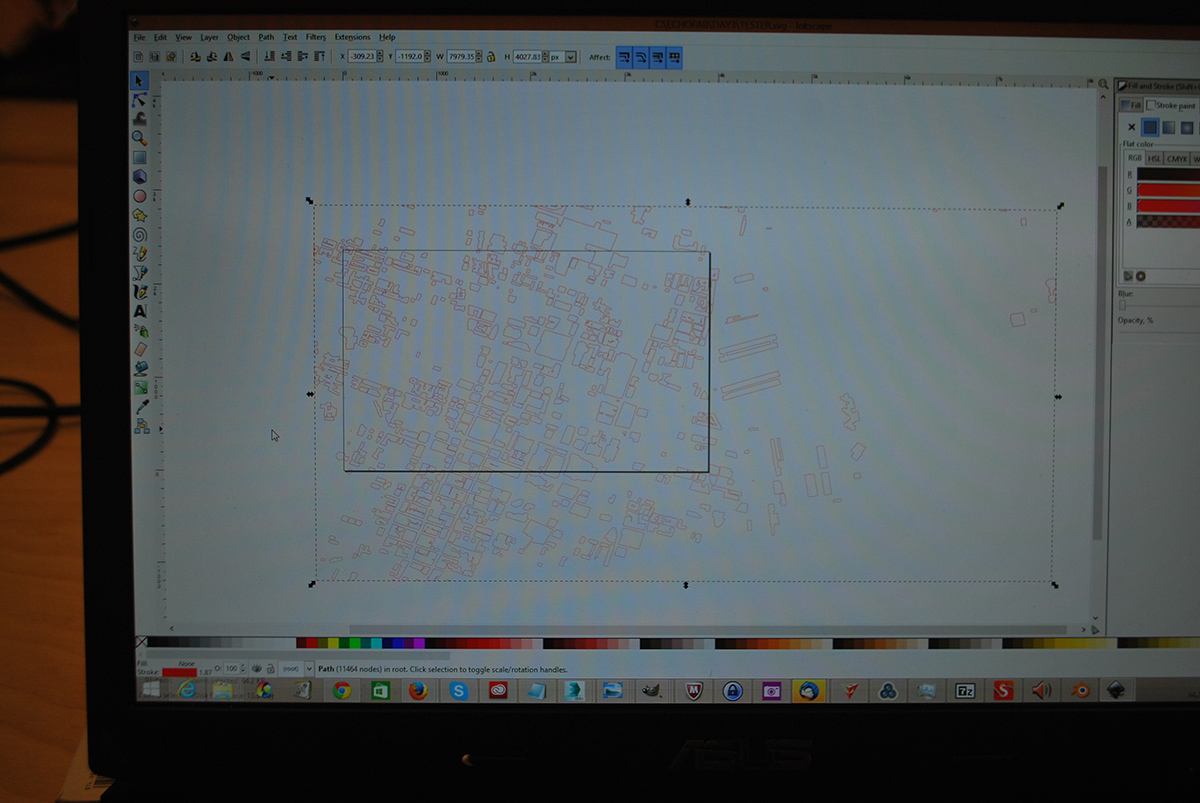
I decided to test this, I would need to laser cut some random shapes, for speed and relevance I decided to use openstreetmap.org and grab a part of Montreal city. I then imported this file into the 3d application, Blender. I then rendered the image as a black and white image and took it to Inkscape where I used the Trace Bitmap feature to make outlines. The colour of these outlines had to get changed to red 255 so that the laser cutter recognises them as places to cut. This sheet was cut and will be used to test the motion sensor set-up soon.
The next part was to set up Arduino on my laptop. I managed to make a few interactions using the help files in the Arduino programming language. Wow, it looks difficult. I have some programming experience. The question is now, do I go for it to make the interaction I want, or look for a simpler less exciting option?
My strategy is to get the form of the sculpture finished first and then try to solve this interaction problem. Yes it might be complicated, but challenges not comfort zones make good art! Watch this space…
-

- openstreetmap
-

- Imported Streetmap File Into Blender
-

- Ready To Lasercut
-

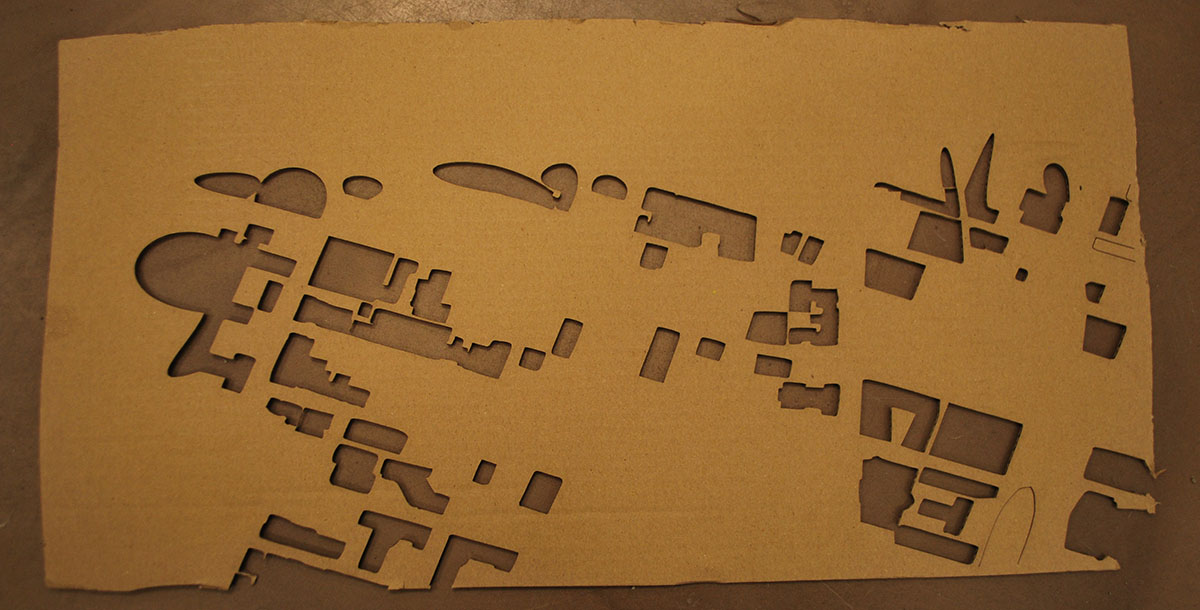
- The Finished Lasercut
-

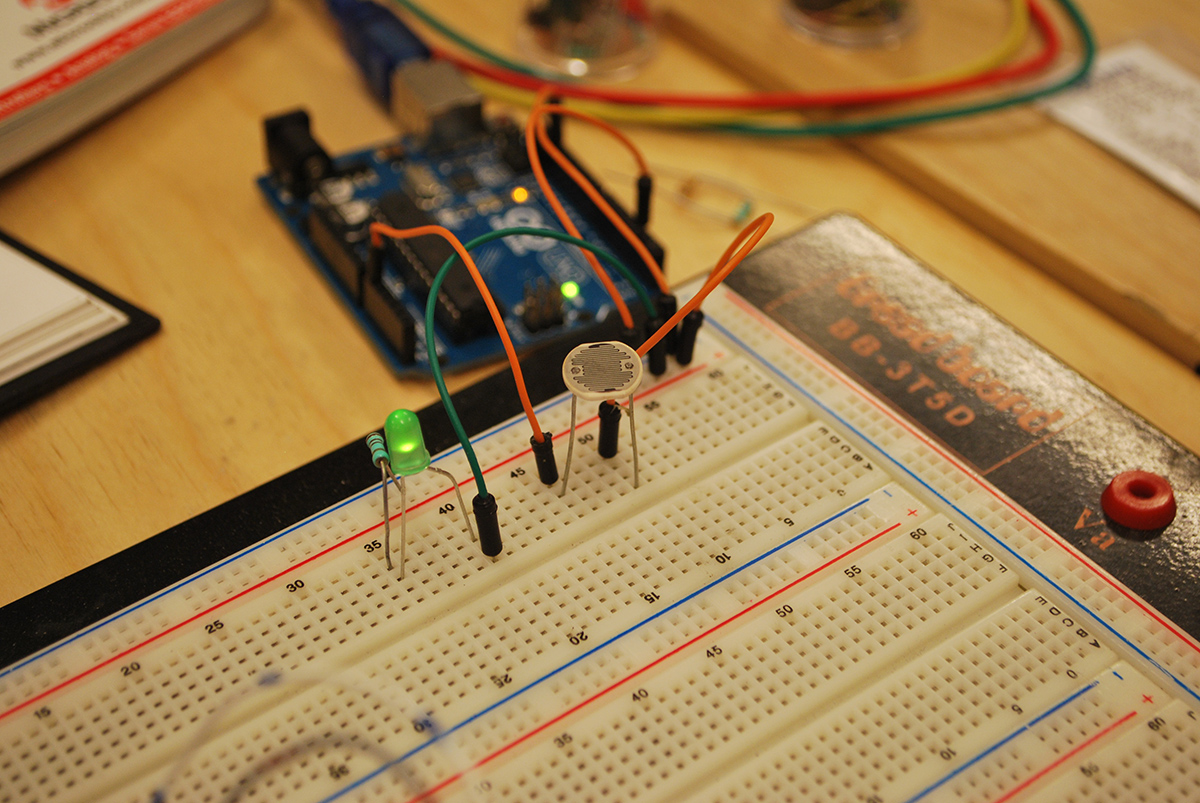
- First Time Use Of Arduino

-

- First Time Arduino Setup
-

- Laser Cut Light Test Using Laptop Screen
The general process for today was-
1. To create a test cut for future interactivity tests, I used openstreetmap to grab an area of Montreal
2. I then imported this .osm into Blender
3. In turn, I exported this to Inkscape and used Bitmap Trace to get clear edges so that the laser cutter would recognise where to cut
4. The cardboard was cut well by the laser cutter
5. I installed the Arduino and its programming language onto my laptop
6. I set up a simple Arduino blinking light with a light sensor
7. I tested how the lit effect could look in the final art-piece by holding up the laser-cut to my laptop screen
